一、开发环境与工具
- jdk8
- maven
- Intellij IDEA
二、工程构建
2.1 构建父子工程
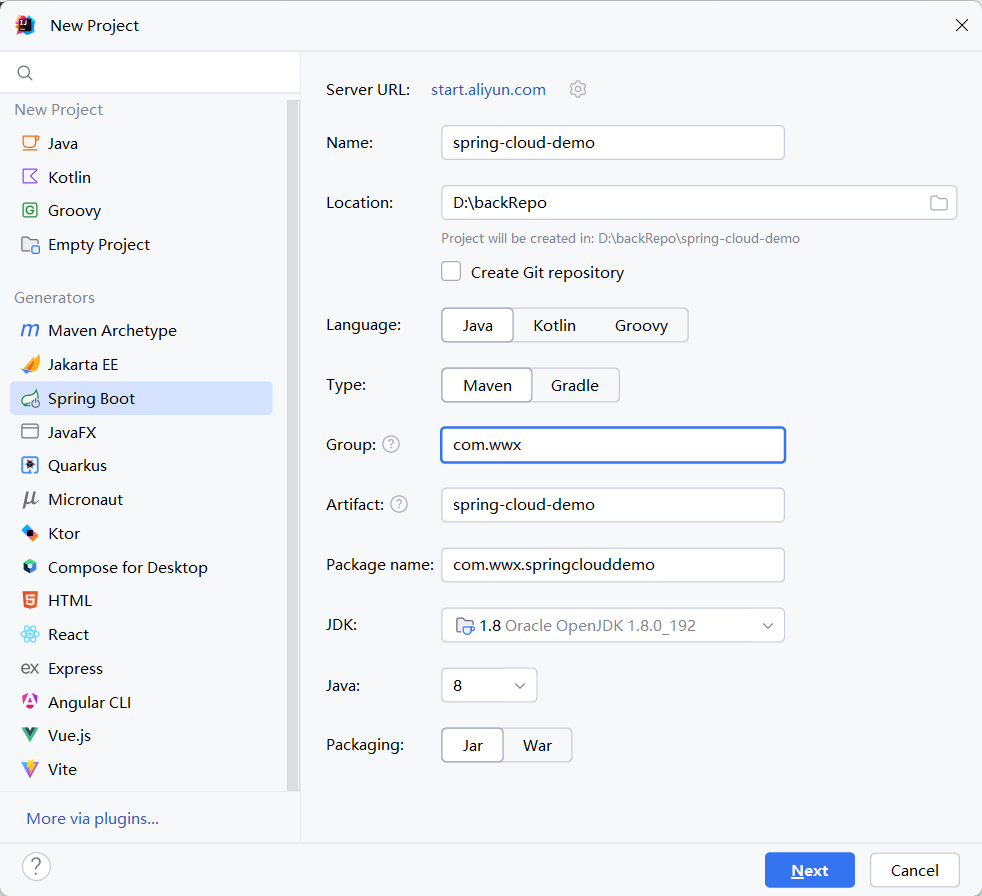
2.1.1 创建父工程
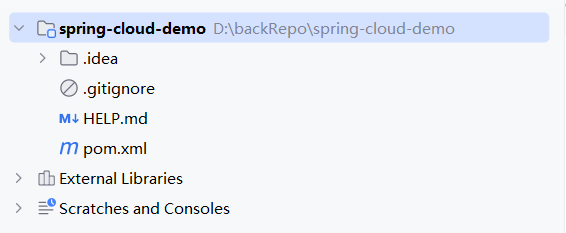
1.创建一个spring boot项目或者空项目,去掉src目录,只保留pom.xml
目录结构如图
2.完善父工程pom文件
<?xml version="1.0" encoding="UTF-8"?>
<project xmlns="http://maven.apache.org/POM/4.0.0" xmlns:xsi="http://www.w3.org/2001/XMLSchema-instance"
         xsi:schemaLocation="http://maven.apache.org/POM/4.0.0 https://maven.apache.org/xsd/maven-4.0.0.xsd">
   <modelVersion>4.0.0</modelVersion>
   <groupId>com.wwx</groupId>
   <artifactId>spring-cloud-demo</artifactId>
   <packaging>pom</packaging>
   <name>spring-cloud-demo</name>
   <modules>

      <module>service-api</module>
      <module>eureka-server</module>
      <module>service-provider</module>
      <module>service-consumer</module>
      <module>api-gateway</module>
      <module>config-server</module>
   </modules>
   <version>1.0</version>
   <!-- 继承 Spring Boot 的父 POM -->
   <parent>
      <groupId>org.springframework.boot</groupId>
      <artifactId>spring-boot-starter-parent</artifactId>
      <version>2.7.6</version>
      <relativePath/> <!-- lookup parent from repository -->
   </parent>
   <properties>
      <java.version>1.8</java.version>
      <project.build.sourceEncoding>UTF-8</project.build.sourceEncoding>
      <project.reporting.outputEncoding>UTF-8</project.reporting.outputEncoding>
      <spring-cloud.version>2021.0.7</spring-cloud.version> <!-- 兼容Spring Boot 2.7.x -->
      <spring-cloud-alibaba.version>2021.0.5.0</spring-cloud-alibaba.version>
   </properties>

   <dependencyManagement>
      <dependencies>
         <!-- Spring Cloud Alibaba 依赖版本 -->
         <dependency>
            <groupId>com.alibaba.cloud</groupId>
            <artifactId>spring-cloud-alibaba-dependencies</artifactId>
            <version>${spring-cloud-alibaba.version}</version>
            <type>pom</type>
            <scope>import</scope>
         </dependency>
         <dependency>
            <groupId>org.springframework.cloud</groupId>
            <artifactId>spring-cloud-dependencies</artifactId>
            <version>${spring-cloud.version}</version>
            <type>pom</type>
            <scope>import</scope>
         </dependency>
         <!-- Nacos 依赖版本-->
         <dependency>
            <groupId>com.alibaba.cloud</groupId>
            <artifactId>spring-cloud-starter-alibaba-nacos-discovery</artifactId>
            <version>${spring-cloud-alibaba.version}</version>
         </dependency>
         <dependency>
            <groupId>com.alibaba.cloud</groupId>
            <artifactId>spring-cloud-starter-alibaba-nacos-config</artifactId>
            <version>${spring-cloud-alibaba.version}</version>
         </dependency>
      </dependencies>
   </dependencyManagement>

   <build>
      <pluginManagement>
         <plugins>
            <!-- 编译插件 -->
            <plugin>
               <groupId>org.apache.maven.plugins</groupId>
               <artifactId>maven-compiler-plugin</artifactId>
               <version>3.10.1</version>
               <configuration>
                  <source>${maven.compiler.source}</source>
                  <target>${maven.compiler.target}</target>
               </configuration>
            </plugin>
            <!-- Spring Boot Maven 插件 -->
            <plugin>
               <groupId>org.springframework.boot</groupId>
               <artifactId>spring-boot-maven-plugin</artifactId>
            </plugin>
         </plugins>
      </pluginManagement>
   </build>

</project>
父POM使用dependencyManagement统一管理依赖版本
子模块在dependencies中声明实际需要的依赖,可以省略版本号
单模块项目可以不用dependencyManagement,直接在dependencies中声明
2.1.2 创建子项目通用model
其他模块创建方式类似,model也可以选择创建springboot项目再编辑pom文件即可
2.2 Eureka Server
Eureka Server模块修改pom添加依赖
<dependencies>
    <dependency>
        <groupId>org.springframework.cloud</groupId>
        <artifactId>spring-cloud-starter-netflix-eureka-server</artifactId>
    </dependency>

    <dependency>
        <groupId>org.springframework.boot</groupId>
        <artifactId>spring-boot-starter-security</artifactId>
    </dependency>
</dependencies>
创建启动类
import org.springframework.boot.SpringApplication;
import org.springframework.boot.autoconfigure.SpringBootApplication;
import org.springframework.cloud.netflix.eureka.server.EnableEurekaServer;

@SpringBootApplication
@EnableEurekaServer
public class EurekaServerApplication {
    public static void main(String[] args) {
        SpringApplication.run(EurekaServerApplication.class, args);
    }
}
@EnableEurekaServer作用:
- 启用 Eureka Server 功能:将应用转变为微服务架构中的注册中心
- 提供服务注册表:管理所有微服务的注册信息(IP、端口、健康状态等)
- 支持服务发现:允许其他服务通过 Eureka Client 查询可用服务实例
配置application.yml
server:
  port: 8761

spring:
  application:
    name: eureka-server
  security:
    user:
      name: admin
      password: admin123

eureka:
  instance:
    hostname: localhost
  client:
    register-with-eureka: false  # 不向注册中心注册自己
    fetch-registry: false        # 不从注册中心获取注册信息
    service-url:
      defaultZone: http://${spring.security.user.name}:${spring.security.user.password}@${eureka.instance.hostname}:${server.port}/eureka/
  server:
    enable-self-preservation: false  # 关闭自我保护模式(开发环境)
配置安全认证
import org.springframework.context.annotation.Configuration;
import org.springframework.security.config.annotation.web.builders.HttpSecurity;
import org.springframework.security.config.annotation.web.configuration.EnableWebSecurity;
import org.springframework.security.config.annotation.web.configuration.WebSecurityConfigurerAdapter;

@Configuration
@EnableWebSecurity
public class WebSecurityConfig extends WebSecurityConfigurerAdapter {
    @Override
    protected void configure(HttpSecurity http) throws Exception {
        http.csrf().disable()
            .authorizeRequests()
            .anyRequest().authenticated()
            .and()
            .httpBasic();
    }
}
2.3 server-provider
搭建服务提供者模块
修改pom文件
<dependencies>
    <dependency>
        <groupId>org.springframework.boot</groupId>
        <artifactId>spring-boot-starter-web</artifactId>
    </dependency>

    <dependency>
        <groupId>org.springframework.cloud</groupId>
        <artifactId>spring-cloud-starter-netflix-eureka-client</artifactId>
    </dependency>

    <dependency>
        <groupId>org.springframework.boot</groupId>
        <artifactId>spring-boot-starter-actuator</artifactId>
    </dependency>
</dependencies>
添加启动类
import org.springframework.boot.SpringApplication;
import org.springframework.boot.autoconfigure.SpringBootApplication;
import org.springframework.cloud.client.discovery.EnableDiscoveryClient;

@SpringBootApplication
@EnableDiscoveryClient
public class ServiceProviderApplication {
    public static void main(String[] args) {
        SpringApplication.run(ServiceProviderApplication.class, args);
    }
}
@EnableDiscoveryClient 注解
- 服务注册:将当前应用注册到服务发现服务器(如 Eureka Server)
- 服务发现:通过注册中心查找其他服务的实例信息
- 负载均衡:与 @LoadBalanced 结合实现客户端负载均衡(如 Ribbon)
配置application.yml
server:
  port: 8081

spring:
  application:
    name: service-provider

eureka:
  client:
    service-url:
      defaultZone: http://admin:admin123@localhost:8761/eureka/
  instance:
    instance-id: ${spring.application.name}:${spring.application.instance_id:${random.value}}
    prefer-ip-address: true
    lease-renewal-interval-in-seconds: 10
    lease-expiration-duration-in-seconds: 30

management:
  endpoints:
    web:
      exposure:
        include: "*"
2.4 server-consumer
服务消费模块服务调用使用Feign方式 修改pom
<dependencies>
    <dependency>
        <groupId>org.springframework.boot</groupId>
        <artifactId>spring-boot-starter-web</artifactId>
    </dependency>

    <dependency>
        <groupId>org.springframework.cloud</groupId>
        <artifactId>spring-cloud-starter-netflix-eureka-client</artifactId>
    </dependency>

   <dependency>
      <groupId>org.springframework.cloud</groupId>
      <artifactId>spring-cloud-starter-openfeign</artifactId>
   </dependency>
</dependencies>
添加启动类
import org.springframework.boot.SpringApplication;
import org.springframework.boot.autoconfigure.SpringBootApplication;
import org.springframework.cloud.client.discovery.EnableDiscoveryClient;
import org.springframework.cloud.openfeign.EnableFeignClients;

@SpringBootApplication
@EnableDiscoveryClient
@EnableFeignClients
public class ServiceConsumerApplication {
   public static void main(String[] args) {
      SpringApplication.run(ServiceConsumerApplication.class, args);
   }
}
@EnableFeignClients 注解
- 声明式服务调用:通过接口+注解的方式定义 HTTP API 客户端
- 集成负载均衡:自动与 Ribbon 或 Spring Cloud LoadBalancer 集成
- 服务发现集成:配合 @EnableDiscoveryClient 实现基于服务名的调用
- 简化 HTTP 通信:封装了 HTTP 请求细节,开发者只需关注业务接口
配置application.yml
server:
  port: 8082

spring:
  application:
    name: service-consumer

eureka:
  client:
    service-url:
      defaultZone: http://admin:admin123@localhost:8761/eureka/
2.5 api-gateway
API网关模块修改pom
<dependencies>
    <dependency>
        <groupId>org.springframework.cloud</groupId>
        <artifactId>spring-cloud-starter-gateway</artifactId>
    </dependency>

    <dependency>
        <groupId>org.springframework.cloud</groupId>
        <artifactId>spring-cloud-starter-netflix-eureka-client</artifactId>
    </dependency>
</dependencies>
创建启动类
import org.springframework.boot.SpringApplication;
import org.springframework.boot.autoconfigure.SpringBootApplication;
import org.springframework.cloud.client.discovery.EnableDiscoveryClient;

@SpringBootApplication
@EnableDiscoveryClient
public class ApiGatewayApplication {
    public static void main(String[] args) {
        SpringApplication.run(ApiGatewayApplication.class, args);
    }
}
配置application.yml
server:
  port: 8083

spring:
  application:
    name: api-gateway
  cloud:
    gateway:
      discovery:
        locator:
          enabled: true  # 开启从注册中心动态创建路由功能
          lower-case-service-id: true  # 服务名小写
      routes:
        - id: service-consumer
          uri: lb://service-consumer
          predicates:
            - Path=/consumer/**
          filters:
            - StripPrefix=0 # 不移除前缀/consumer

        - id: service-provider
          uri: lb://service-provider
          predicates:
            - Path=/provider/**
          filters:
            - StripPrefix=1

eureka:
  client:
    service-url:
      defaultZone: http://admin:admin123@localhost:8761/eureka/
2.6 config-server
配置中心模块 修改pom
<dependencies>
    <dependency>
        <groupId>org.springframework.cloud</groupId>
        <artifactId>spring-cloud-config-server</artifactId>
    </dependency>

    <dependency>
        <groupId>org.springframework.cloud</groupId>
        <artifactId>spring-cloud-starter-netflix-eureka-client</artifactId>
    </dependency>
</dependencies>
创建启动类
import org.springframework.boot.SpringApplication;
import org.springframework.boot.autoconfigure.SpringBootApplication;
import org.springframework.cloud.client.discovery.EnableDiscoveryClient;
import org.springframework.cloud.config.server.EnableConfigServer;

@SpringBootApplication
@EnableConfigServer
@EnableDiscoveryClient
public class ConfigServerApplication {
    public static void main(String[] args) {
        SpringApplication.run(ConfigServerApplication.class, args);
    }
}
@EnableConfigServer 注解
- 集中化管理配置:将分散在各个微服务的配置文件(如 application.yml)集中存储到统一的仓库(如 Git、SVN、本地文件系统等)
- 提供配置的远程访问接口:暴露 RESTful API(如 /{application}/{profile}/{label}),供其他微服务动态获取配置
- 环境隔离与版本控制:通过 profile(如 dev/prod)和 label(如 Git 分支)支持多环境配置隔离
- 配置动态刷新:配合 @RefreshScope 注解,支持客户端在不重启服务的情况下动态更新配置(需手动触发 /actuator/refresh)
配置application.yml
server:
  port: 8888

spring:
  application:
    name: config-server
  profiles:
    active: native  # 关键!必须显式激活native profile
  cloud:
    config:
      server:
         native:
         search-locations:
            - file:/config-files/
            - classpath:/config-files/  # 也可以放在classpath下

eureka:
  client:
    service-url:
      defaultZone: http://admin:admin123@localhost:8761/eureka/
2.7 客户端使用配置中心
service-provider模块中添加依赖
<dependency>
    <groupId>org.springframework.cloud</groupId>
    <artifactId>spring-cloud-starter-config</artifactId>
</dependency>
创建bootstrap.yml文件(优先级高于application.yml)
spring:
  cloud:
    config:
      name: service-provider  # 对应配置文件前缀
      profile: dev           # 环境
      uri: http://localhost:8888  # 配置中心地址
      fail-fast: true        # 启动时如无法连接配置中心则快速失败
在/config-files/目录下创建文件service-provider-dev.yml
custom:
  message: This is a message from config server
在Controller中测试读取配置
@Value("${custom.message}")
private String customMessage;

@GetMapping("/config")
public String getConfig() {
    return customMessage;
}
2.8 服务消费者调用服务提供者
在service-consumer模块中添加Feign依赖
<dependency>
    <groupId>org.springframework.cloud</groupId>
    <artifactId>spring-cloud-starter-openfeign</artifactId>
</dependency>
创建Feign客户端接口
import org.springframework.cloud.openfeign.FeignClient;
import org.springframework.web.bind.annotation.GetMapping;
import org.springframework.web.bind.annotation.PathVariable;

@FeignClient(name = "service-provider")
public interface ProviderFeignClient {

    @GetMapping("/provider/hello/{name}")
    String hello(@PathVariable String name);
}
修改Controller使用Feign客户端
import com.example.serviceconsumer.feign.ProviderFeignClient;
import org.springframework.beans.factory.annotation.Autowired;
import org.springframework.web.bind.annotation.GetMapping;
import org.springframework.web.bind.annotation.PathVariable;
import org.springframework.web.bind.annotation.RequestMapping;
import org.springframework.web.bind.annotation.RestController;

@RestController
@RequestMapping("/consumer")
public class ConsumerController {

    @Autowired
    private ProviderFeignClient providerFeignClient;

    @GetMapping("/feign/hello/{name}")
    public String helloFeign(@PathVariable String name) {
        return providerFeignClient.hello(name);
    }
}
三、测试与启动
3.1 启动顺序
- eureka-server
- config-server
- service-provider
- service-consumer
- api-gateway
3.2 验证Eureka注册中心
- 访问 http://localhost:8761
- 输入用户名admin,密码admin123
- 查看服务是否注册成功
3.3 测试服务调用
- 通过网关访问服务: http://localhost:8083/consumer/feign/hello/John
- 直接访问服务提供者: http://localhost:8081/provider/hello/John
- 直接访问服务消费者: http://localhost:8082/consumer/ping
3.4 测试配置中心
- 访问 http://localhost:8081/provider/config
- 应返回文件目录下文件中配置的消息